
Rain Drops Keep Falling On Our Heads – No More
May 2023
There is nothing more annoying than a leak in one’s RV. Not to mention how, if left untreated, much damage can be done. An entire roof could be ruined and a replacement needed.
I’m normally on top of things like this but I guess since coming off the road I’ve become a bit complacent. No more. I have my annual check list and I’ll be going through it every January as in the past.
Now, the recent rains revealed two areas of concern. The first was rather minor and easy to correct.
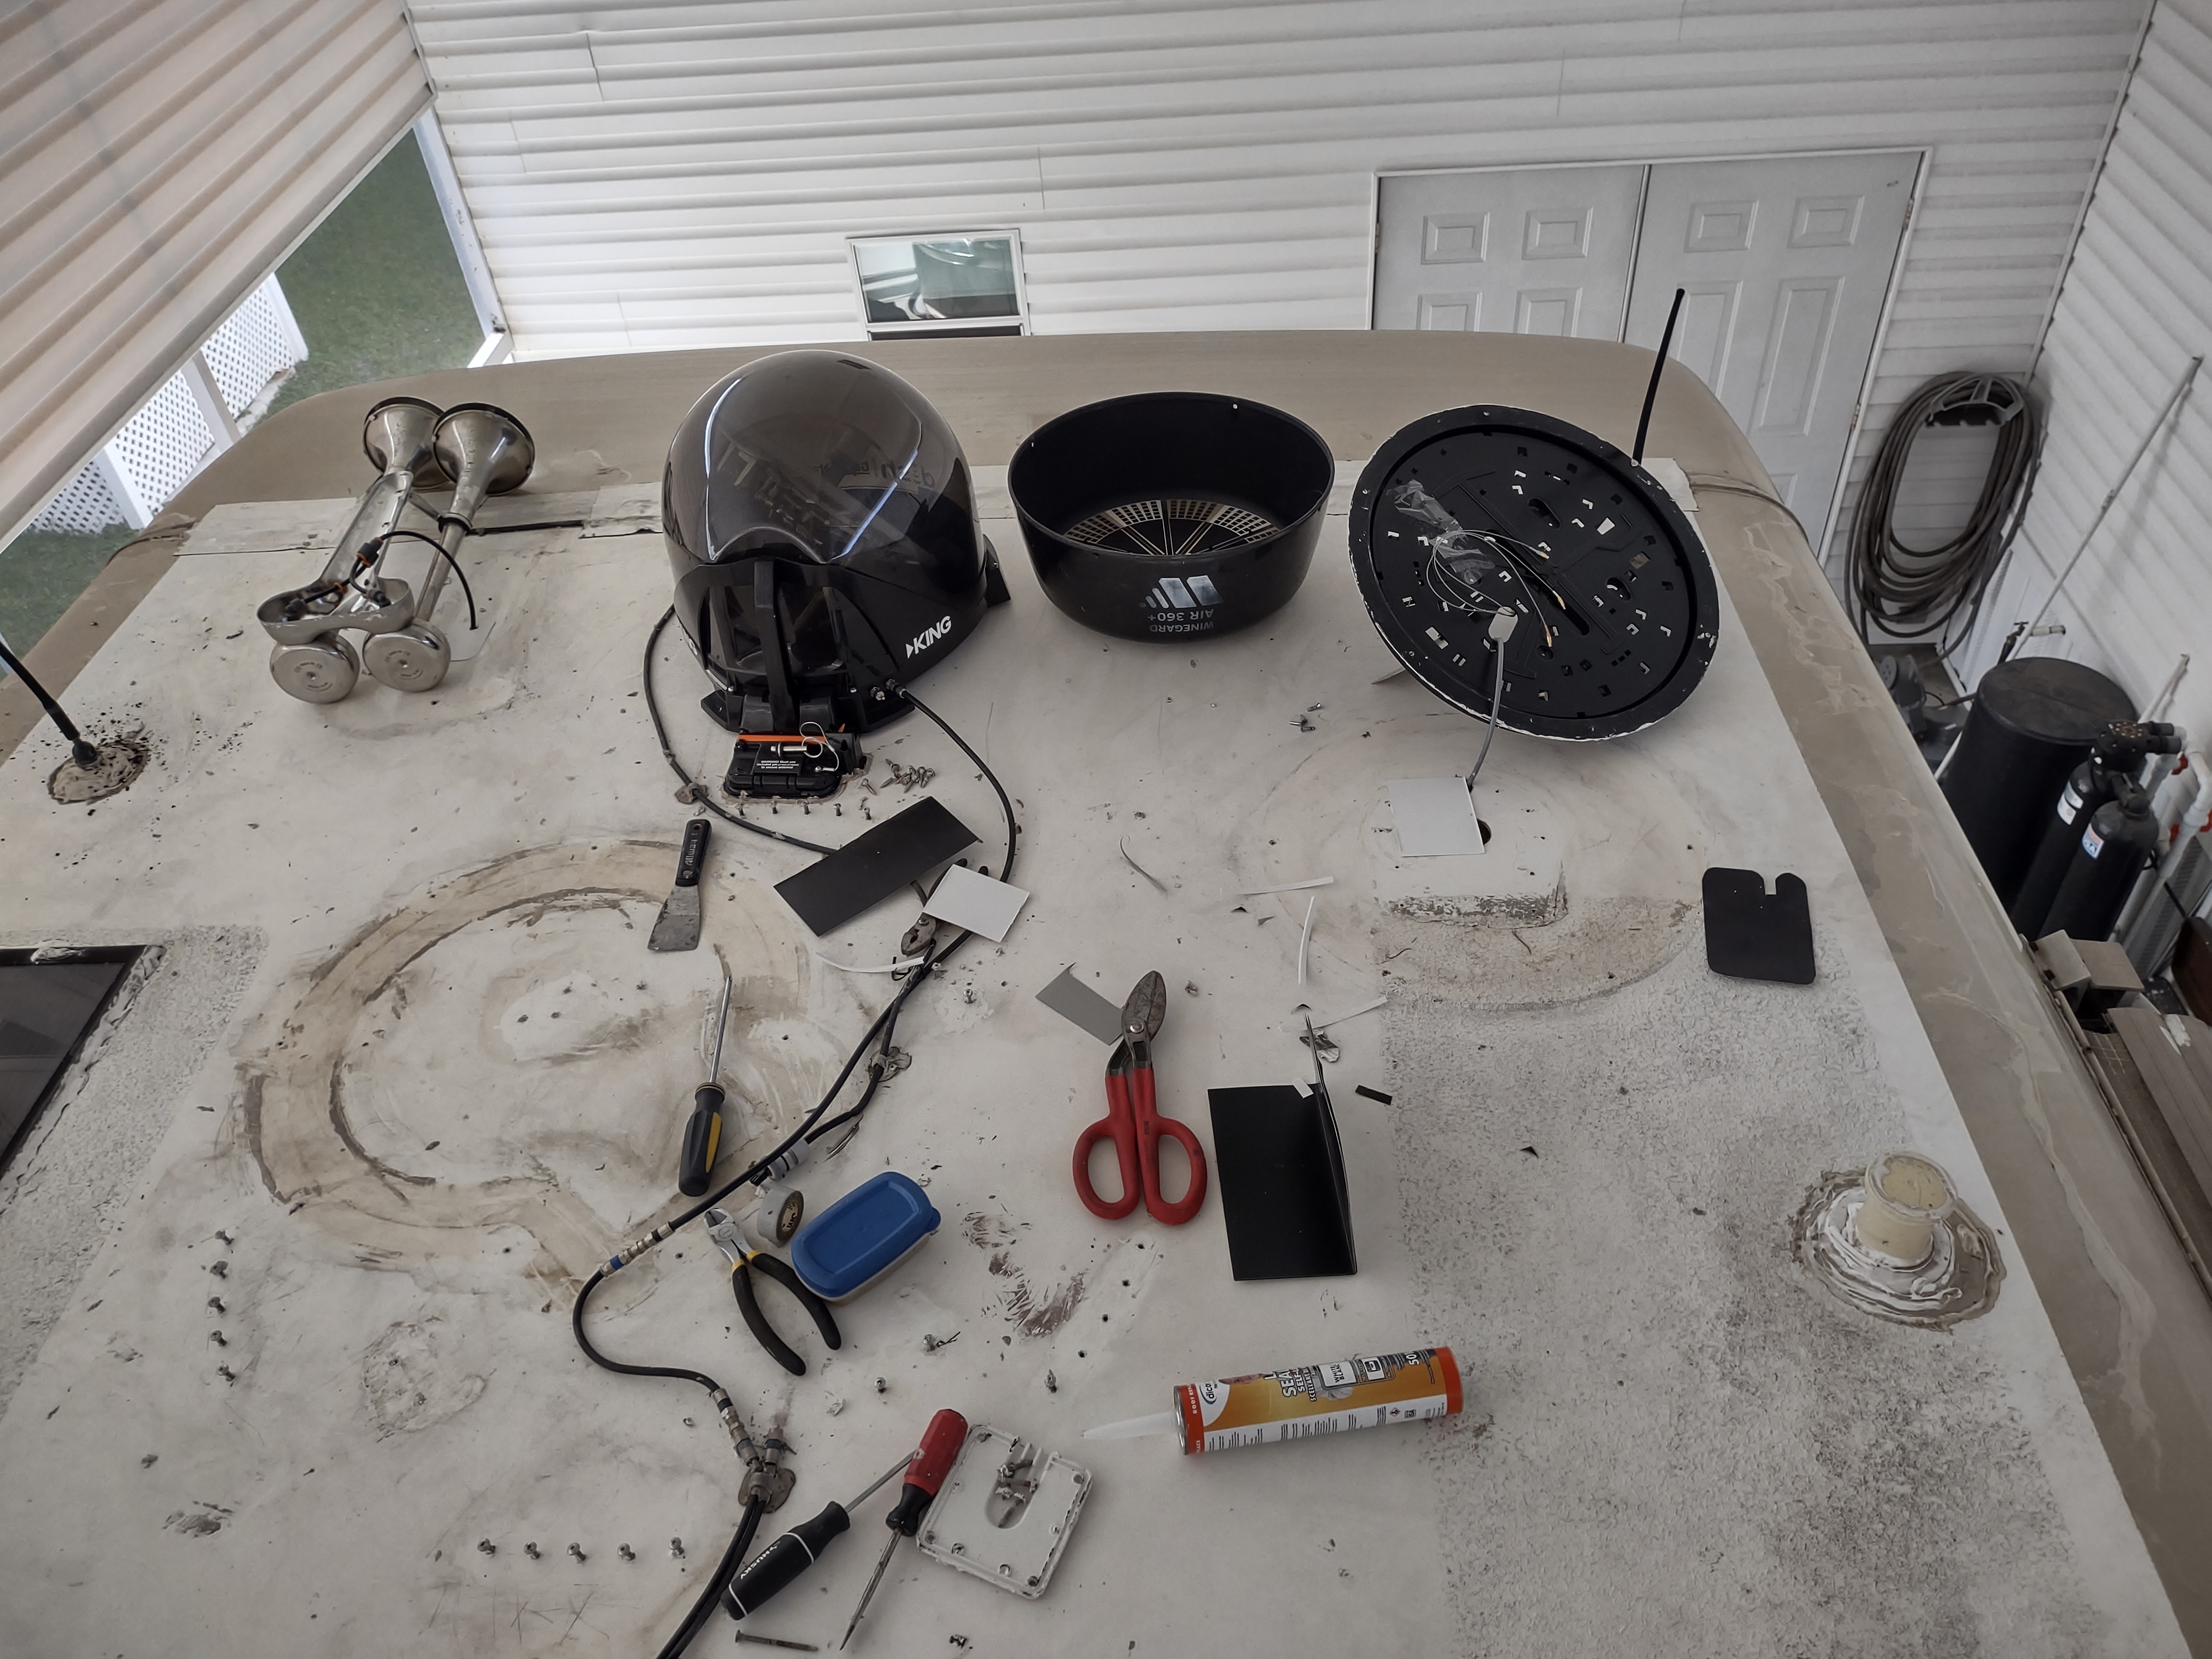
This first leak was coming from under my over the air antenna. That is the black round-shaped object to the right in the picture above. I decided rather than just re-caulking around the rim I would pull it up and, caulk the entire assembly and reinstall it.
Well, imagine my surprise when after I took it off I discovered a large uncovered hole that was from the previous antenna. The installer for this antenna never bothered to cover that up. Just goes to show, if you want it done right then you have to do it yourself. My good buddy Isaac and I decided we would make a cover plate for the hole, then caulk it and fasten it in place. That way if in the future water ever did make it under the base of the antenna it would not be able to get inside the rig.
But we weren’t done. There were a number of screws from a previous antenna install that we removed, then re-caulked the holes and inserted new screws. We pulled the air horn off, re-caulked, then reinstalled it. We did the same for the current satellite antenna, a couple of existing cover plates and the defunct solar trickle charger. If it was in the front part of the roof it got re-caulked with self leveling sealant. I’m confident now that we’ll have no leaks in the front for the rest of this year. However, like I said come December/January I’ll be back up there checking everything once again.
On to the bigger issue of the two.
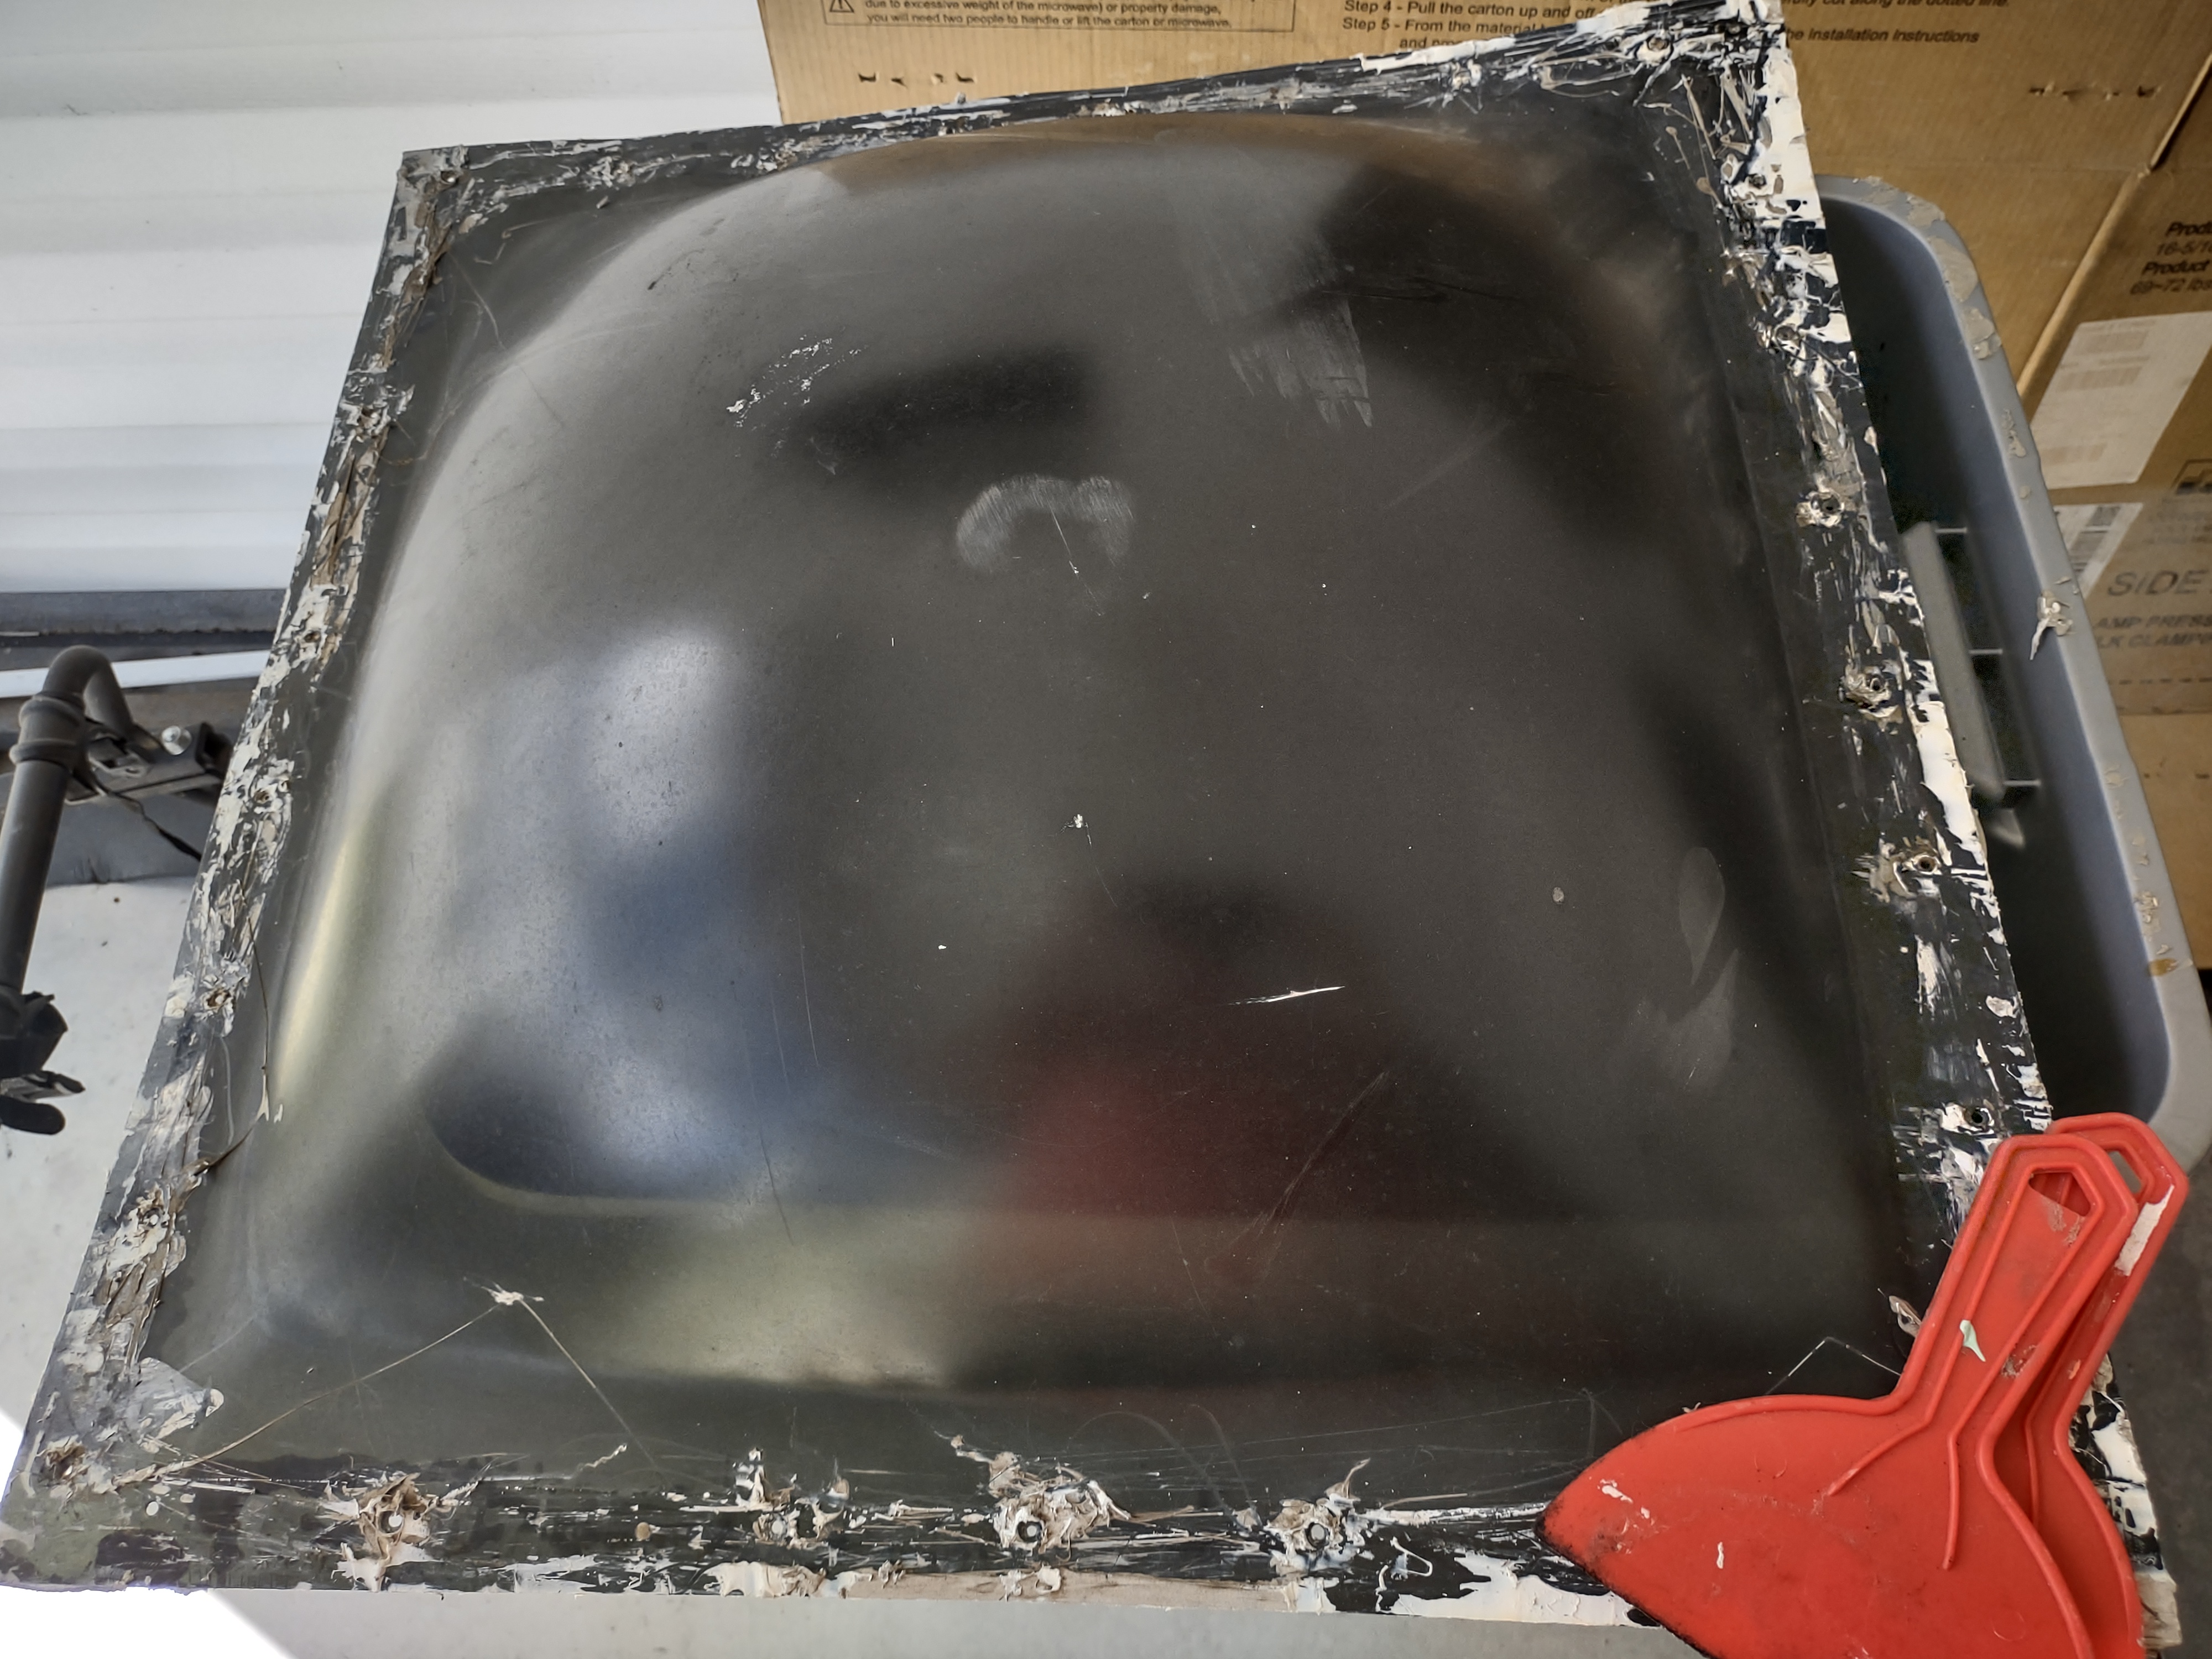
Unfortunately, whoever (and I know who it was and I would like to ring their neck) installed this in the first place did an absolutely awful job. I can now see that they never properly sealed it in the first place and my past attempts at resealing it were quite obviously woefully lacking.
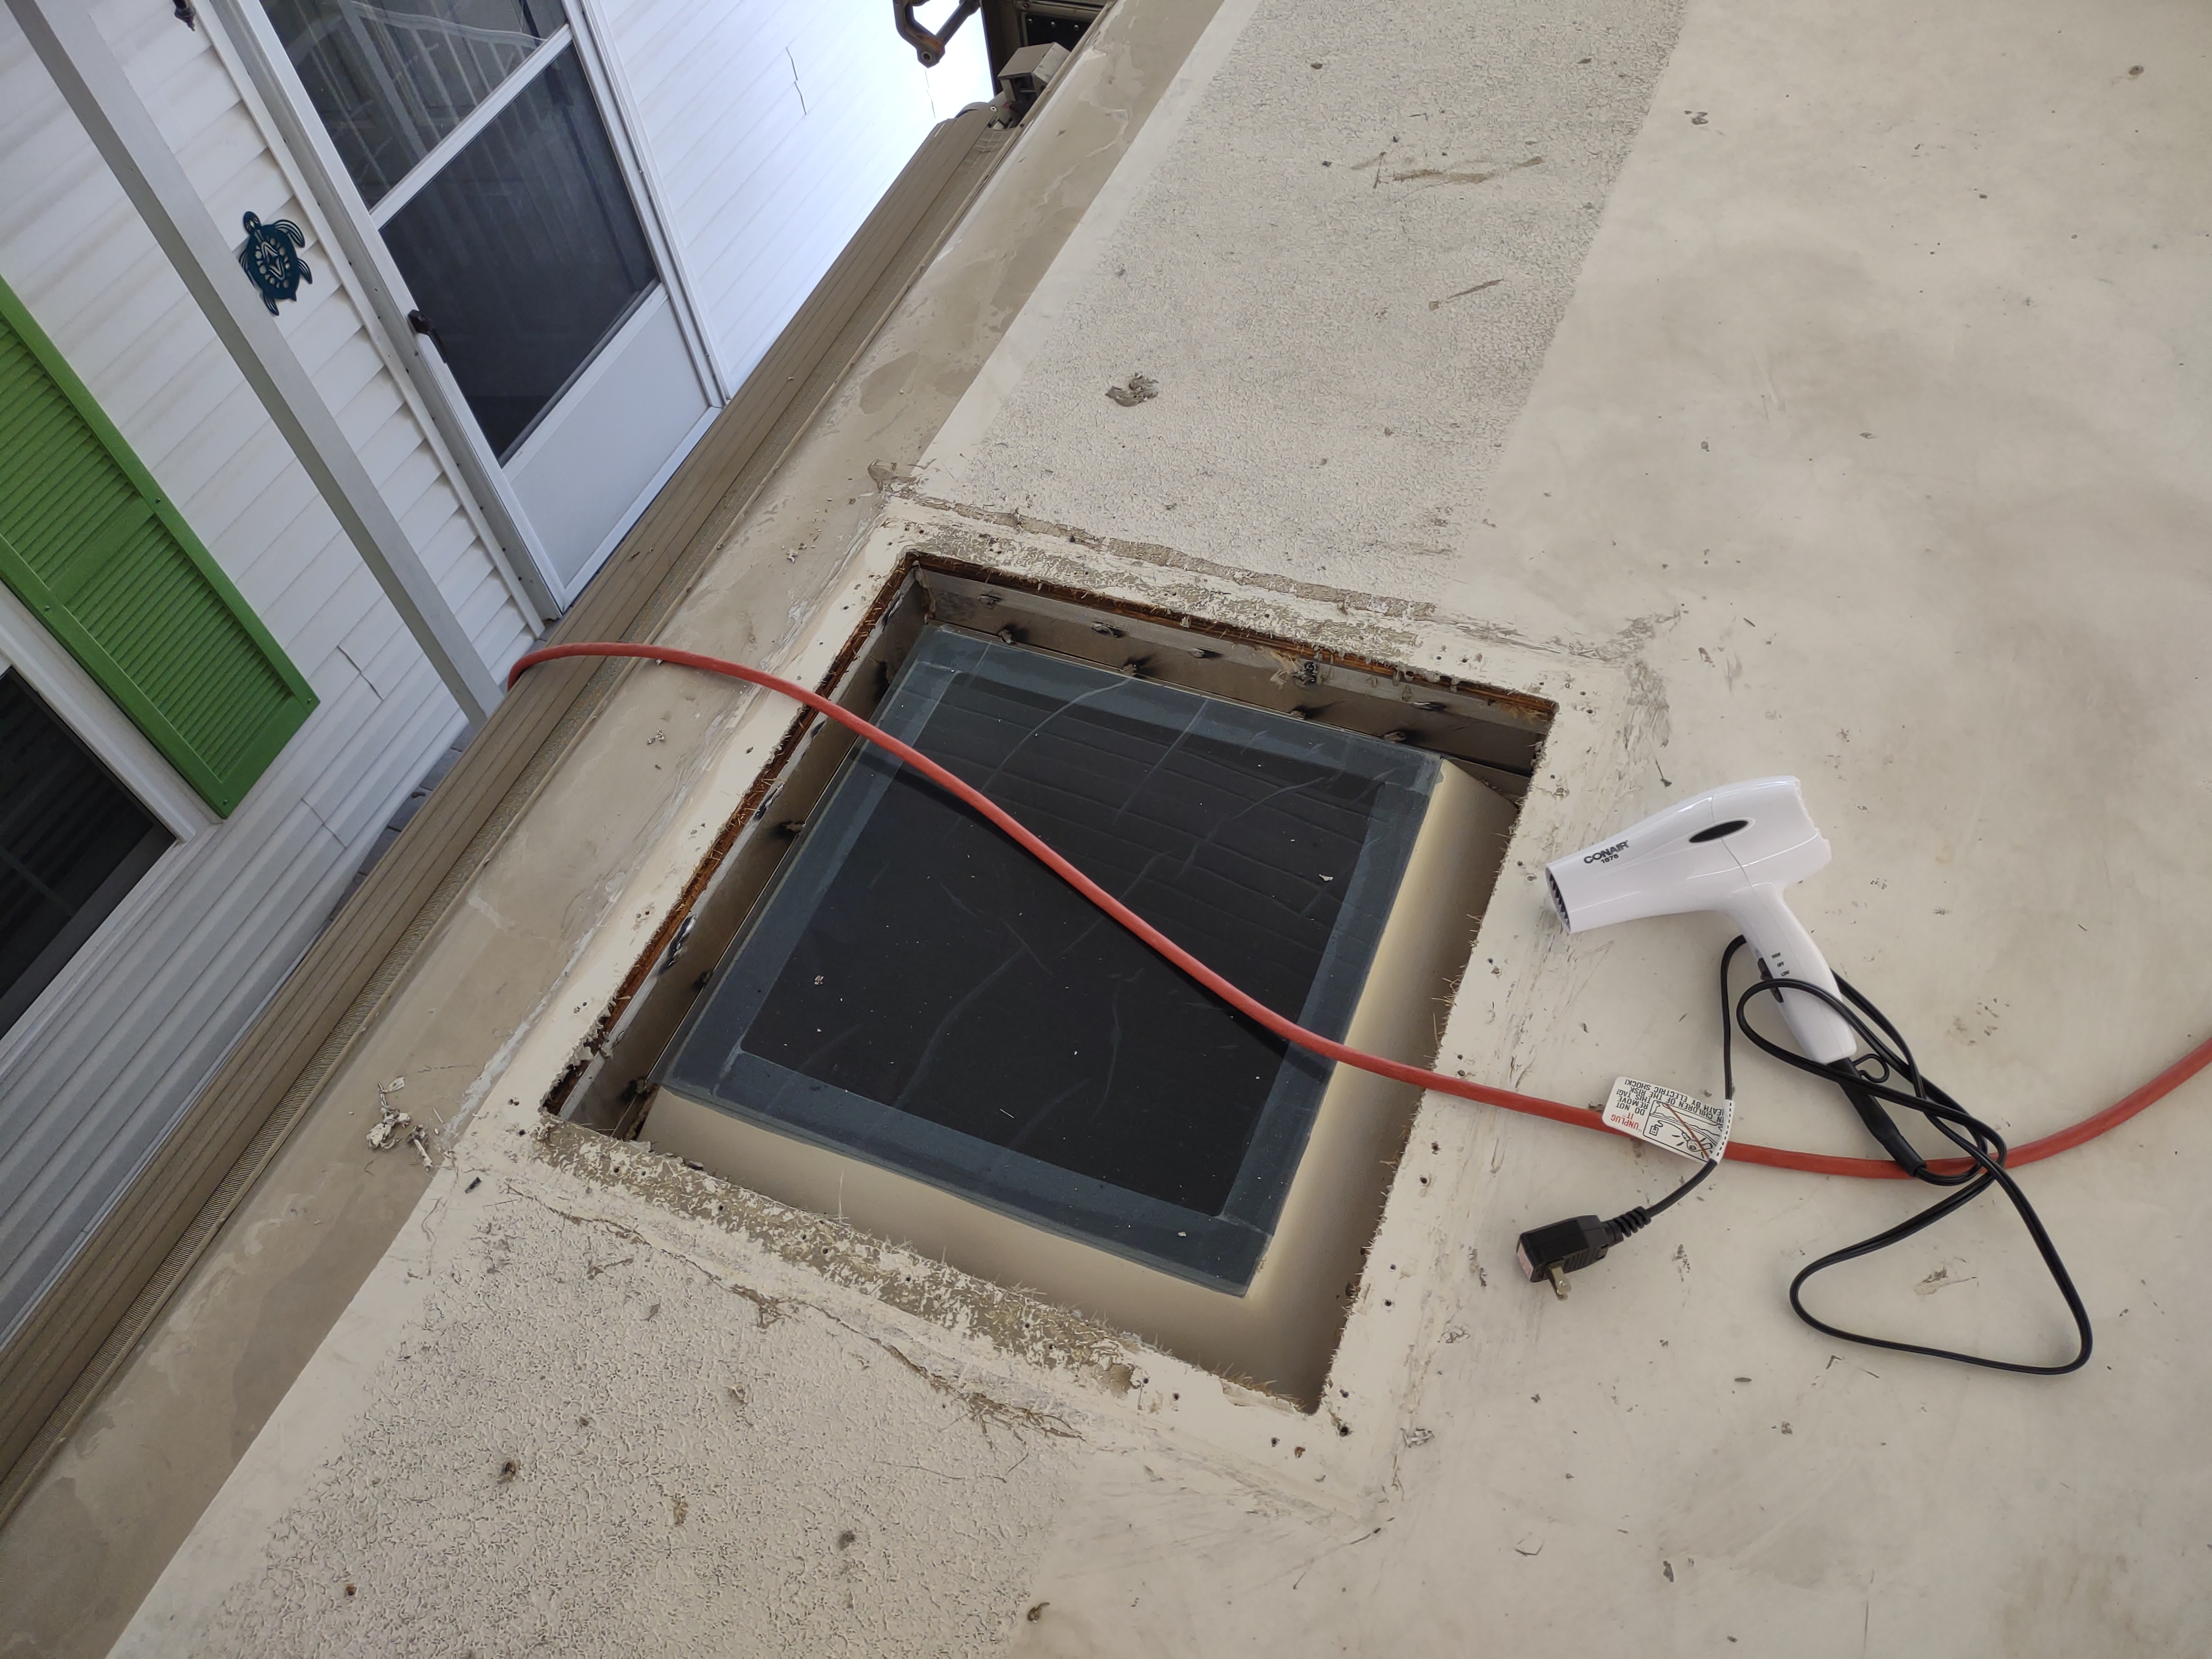
So my friends we have a perfect example of what happens if water makes it way into the roof of your rig. On the outer side, and the front side the wood is rotted and it has delaminated. The perfectly proper way to solve this would be to cut back the fiberglass roof and replace the wood underneath, and then lay down new fiberglass.
That’s the perfect way. But there’s another way to solve this without going to all that expense. I’m going to infuse an epoxy resin into the rotted wood. This will strengthen the existing wood and rebind the layers back together. Then I’ll fill any left over voids with an epoxy body filler. I’ll also install and bond a piece of metal to the damaged wood which will give a piece of solid material for the screws to bite into when the new skylight is installed. Then the new skylight will be installed and we’ll be as good as new. Now how about that.
So there you have it, the project of the month. Now to all those who are still RV owners, if you haven’t check the caulk on your roof in the last six months, what are you waiting for! Before you have a waterfall inside, go, check, and caulk if necessary. You’ll be glad you took the time to do so.

Wonderful job, Bill! I can see your resolve to get the job done, and get it done right! It sure sounds like you have a good help friend in Isaac. Does he ever visit St. Charles? ha ha! Your post is great advice and a good reminder to get that roof checked!
LikeLike
Yep, we are overdue for checking the caulk on our travel trailer. I appreciate the tip about the epoxy resin as well.
LikeLike